I. Scheduling Page Design
- Jalesa Campbell (Unlicensed)
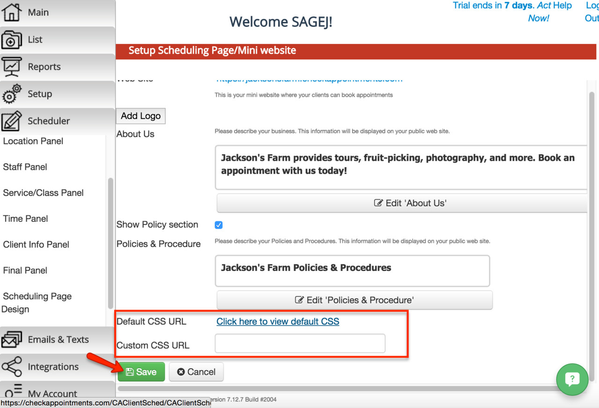
The Scheduling Page Design option provides several features for customizing your web site. First, navigate to the "Scheduler" tab > "Scheduling Page Design".
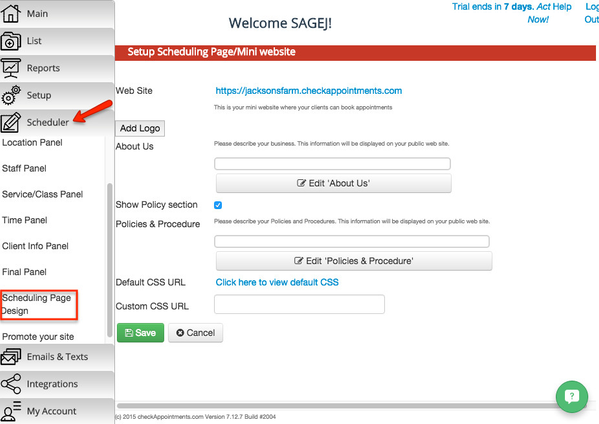
Here you’ll find options to:
View your Web Site
Add a Logo
Describe your business in the About Us section
Show or Hide your Policy section
Describe your Policies and Procedure
View the Default CSS URL
Add a Custom CSS URL
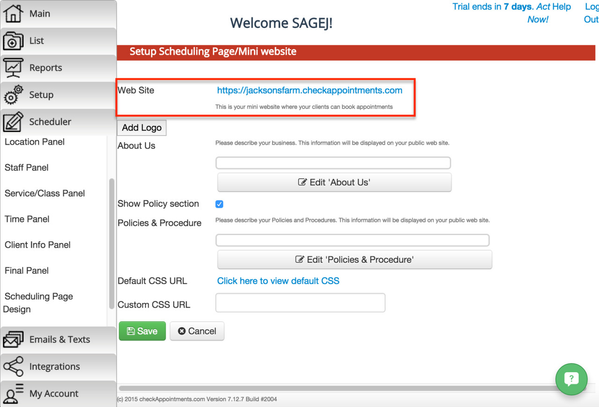
To view your Web Site, simply click on the link that is next to the “Web Site” label.This will display your Web Site in a new tab.
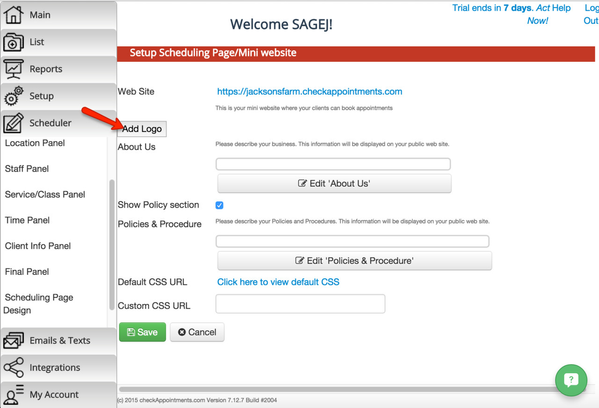
To add a Logo, click on the “Add Logo” button. This will allow you to choose a file from which you would like to add an image as the logo for your website. Once you’re done, click on the “Upload” button and this will upload your photo.
To create a description for your business in the About Us section, simply click the “Edit ‘About Us’” button and this will allow you add text describing your business. You can also format the text as you would like for it to appear in the dialog box, and once everything looks good click on the “Done” button.
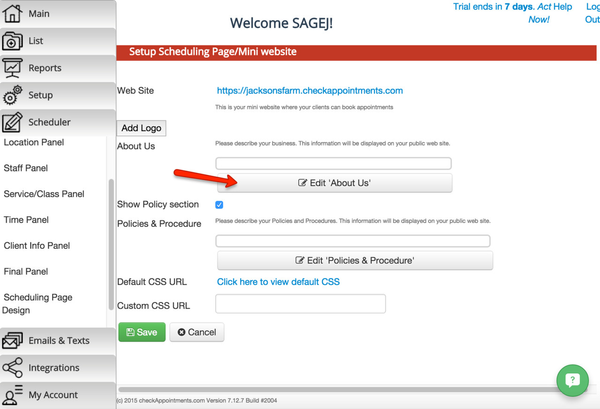
You can also format the text as you would like for it to appear in the dialog box, and once everything looks good click on the “Done” button.

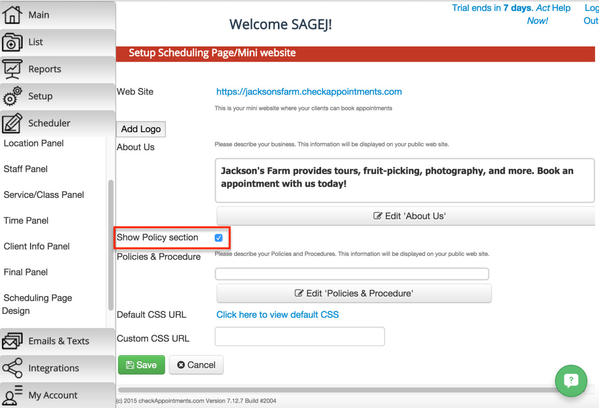
To show the Policy section of your web site, you can click to place a checkmark in the box beside the “Show Policy section” label. To hide this section, click the checkmark in the box and this will hide the Policy section on your web site.
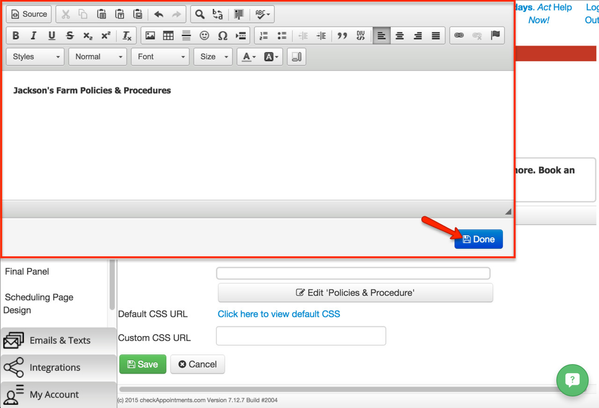
To describe your business’ Policies & Procedure, click on the “Edit ‘Policies & Procedure’ button. This will bring up a dialog box where you can add and format the text as you would like for it appear on the web site. Once everything looks good, click the “Done” button.
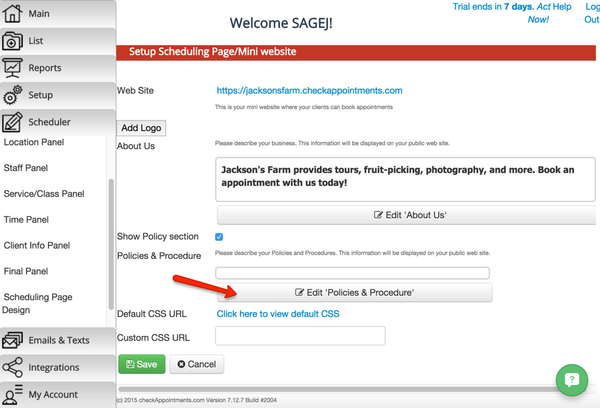
This will bring up a dialog box where you can add and format the text as you would like for it appear on the web site. Once everything looks good, click the “Done” button.
To view the default CSS for your website, click on the text that says “Click here to view default CSS”. This will open up a new tab that displays the default CSS. To add a link to custom CSS, copy and paste or type the URL in the text box beside the “Custom CSS URL” label. When you’re done customizing your scheduler’s page, click the “Save” button.