7. Adding & Looking Up Clients
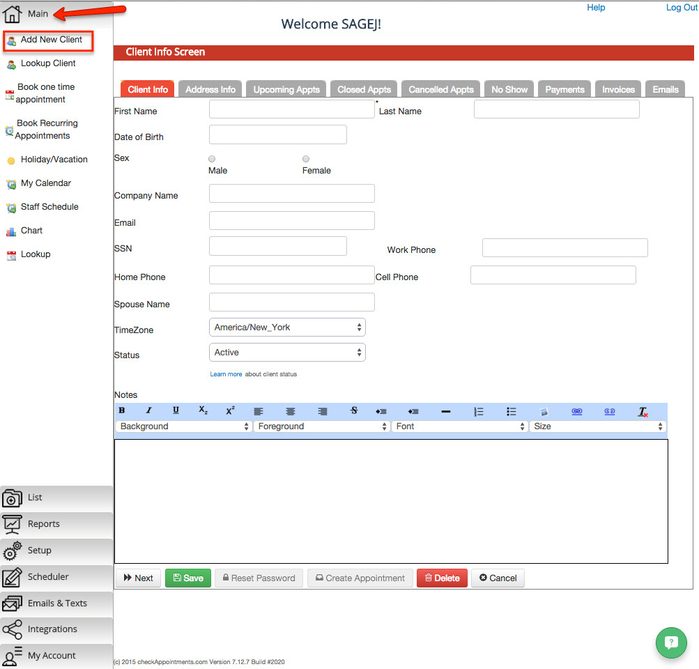
If you are trying to set up an appointment, you need to make sure that the client is added in your system first. In order to add a client that is not in your checkAppointments records, go to Main->Add New Client. You can also add client's in bulk using the Client Importer. More information on that available here.
The only required field is the First Name field, but you can also include:
- Last Name
- Date of Birth
- Gender
- Company Name
- SSN
- Work Phone
- Home Phone
- Cell Phone
- Spouse Name
- TimeZone
- Status
- Notes
- Address (Line 1, Line 2, City, County, State, Zip, Country)
- Emergency Contact details (Name and Phone #)
- Insurance Information (Insurance Company, Enrollee Name, Insurance #, Plan #, Group #)
Once you have finished adding the information you need to, you can press Save at the bottom of the screen. If you click back into a client view anytime after adding them the first time, make sure to hit Save to commit any changes you make to his/her record.
Lookup Clients
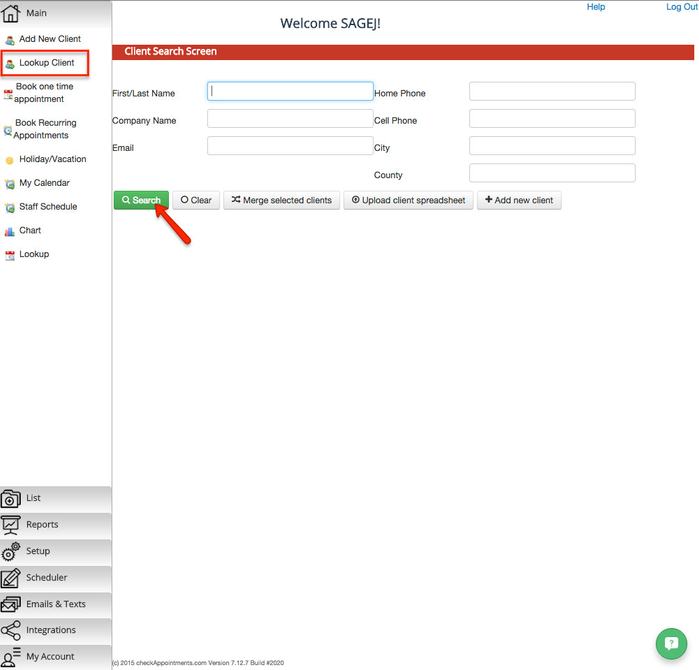
To find a client record and see their basic information as well as upcoming appointments, use the Lookup Client option under the Main menu. This will allow you to search by First/Last name, Company name, email address, home phone, cell phone, city, or county to find the client you’re looking for. You can also just hit the search button without applying any filters to generate your entire client list.
From the Lookup Client results, click on the Zoom In button to see the client's record.

