/
Changing tab/panel names on the Scheduler
Changing tab/panel names on the Scheduler
- Lucy Barber
- ShawnK (Deactivated)
Owned by Lucy Barber
Last updated: Jan 11, 2016 by ShawnK (Deactivated)
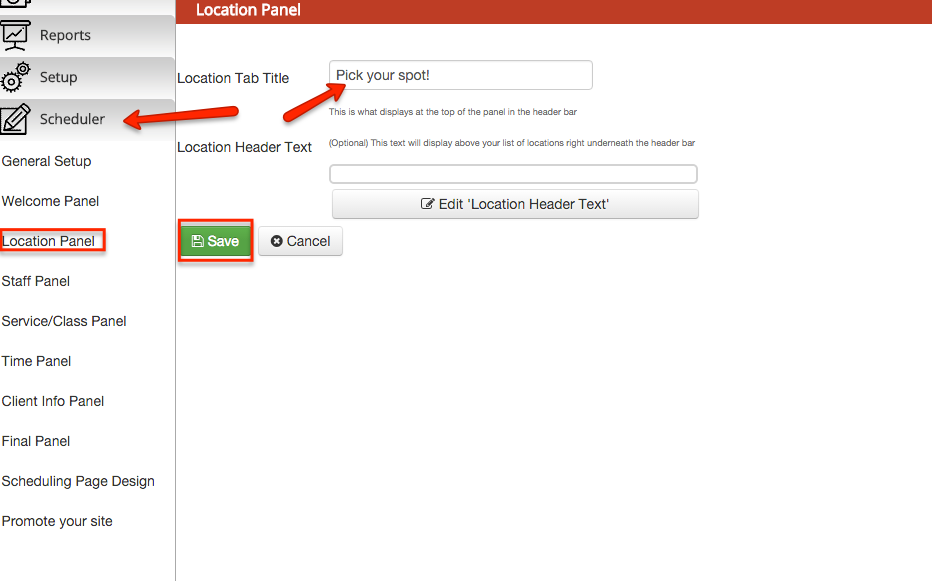
You can make the scheduler more reflective of your business by changing the names on the display. For instance, maybe instead of the Location panel's header saying "Location" you want it to say "Pick your spot!"
To do this, go to "Scheduler->Location Panel" and edit the "Location Tab Title".
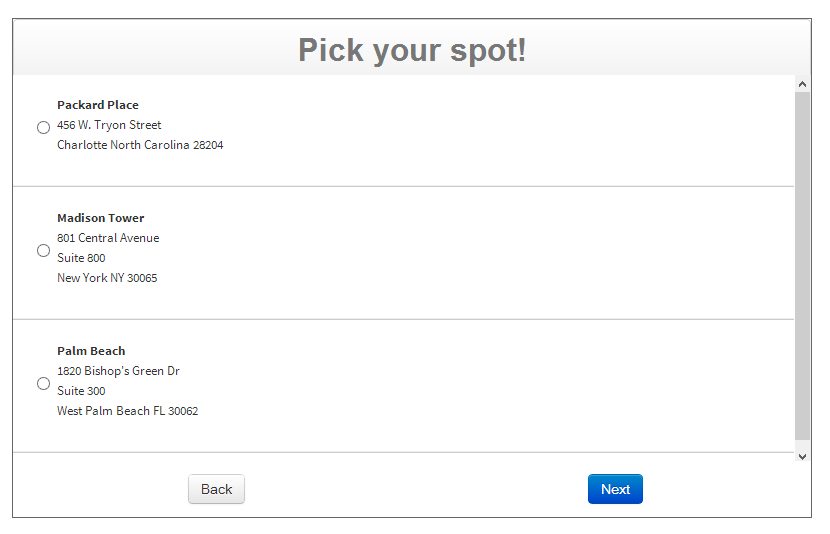
Next, go to your mini website (this can be found through Scheduler->Scheduling Page Design and clicking on the link next to Web Site). If it was already open, make sure to refresh the page by hitting F5 on your keyboard. Click through to what was the Location tab and you'll see it's now going to be whatever you relabeled it as:
, multiple selections available,
Related content
2. Customizing your Scheduler
2. Customizing your Scheduler
More like this
Embed a Service-Specific Scheduler
Embed a Service-Specific Scheduler
More like this
Scheduler
Scheduler
More like this
5. Embedding the Scheduler on your Website
5. Embedding the Scheduler on your Website
More like this
B. Welcome Panel
B. Welcome Panel
More like this
C. Locations Panel
C. Locations Panel
More like this