Adding a new client
- Lucy Barber
How to: Add a New Client
This how to guide will give you a step by step demonstration on how to enter existing clients’ data or, if you receive a phone call for an appointment, how to capture some information about the caller before he/she comes in. The Add New Client screen is especially important if you are getting ramped up on checkAppointments and are trying to move from a legacy system but keep your existing clients’ data on hand.
Where to find it:
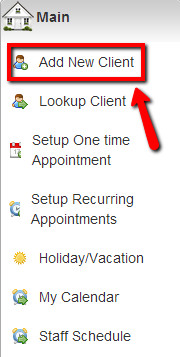
The Add New Client screen is the first option under the Main drop down
What you're looking at:
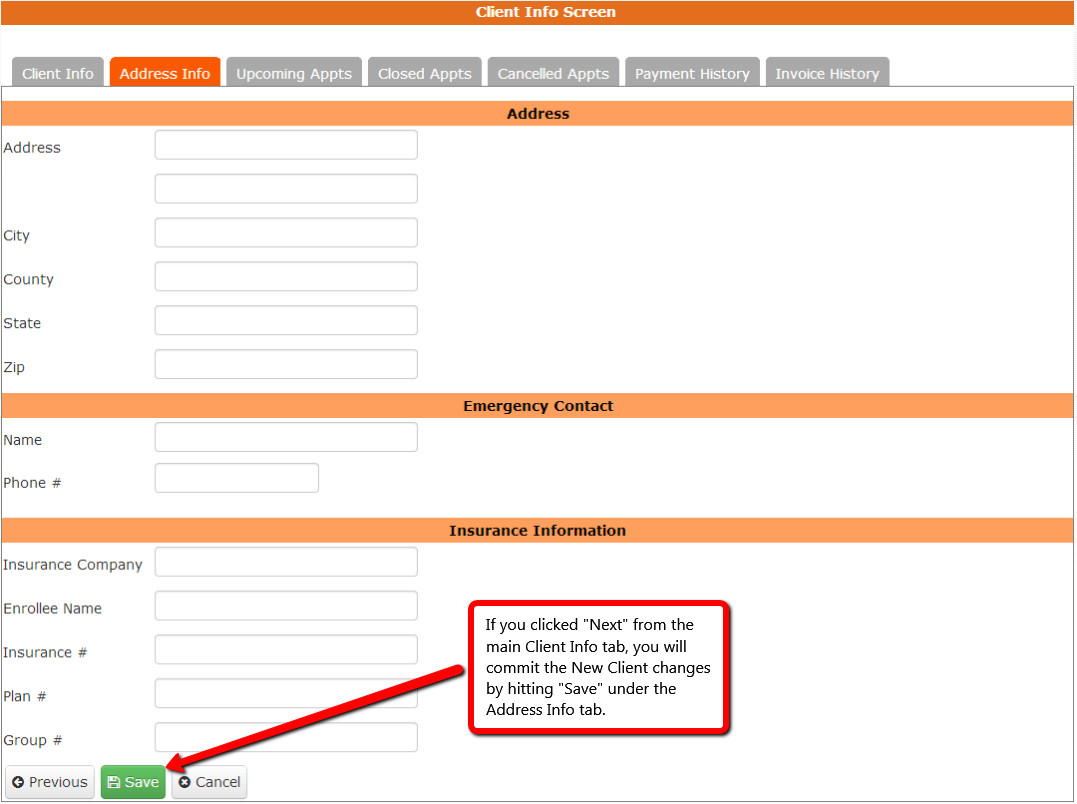
Once you click into the Add New Client option, you’re presented with the Client Info Screen. Here you’ll find a set of tabs to capture basic background fields, enter a related address, add an emergency contact, and fill in insurance information. Once the client has booked appointments with you through checkAppointments (or you have booked an appointment for them through checkAppointments), the tabs for Upcoming Appts, Closed Appts, and Cancelled Appts will fill in automatically, depending on the action.
To get started:
Fill in the fields that you can under the “Client Info” tab and hit “Next” in the bottom left of the main screen to move on to the Address Info. If you don’t want to add any information on the Address Info tab (fields include Address, Emergency Contact, and Insurance) then just hit “Save”.
Since we are talking about adding a client (meaning that they didn’t exist in the system previously) the “Delete” button won’t come into play until after you’ve saved the entry. Hitting “Cancel” either while adding a new entry or editing existing entries’ information will take you back to the previous screen you were on without committing any changes.
The following snapshots display the two tabs we’ve spoken about. The other tabs are discussed further in the documentation found here:
- Editing existing clients’ information
- Managing Invoices

Now that it's saved, where can you find it again?
If you need to go back and edit any of the information you’ve put in for a client you’ve added or one that has booked an appointment online, simply go to Main->Lookup Client->Hit Search->Click on the clients name. For more information on this, read our documentation on looking up clients.