Every checkAppointments account comes with a free mini website available at webhandle.checkappointments.com where the “webhandle” value is defined upon signed up. This mini website can be customized with a logo, about us text, policies and procedures, and custom CSS styling.
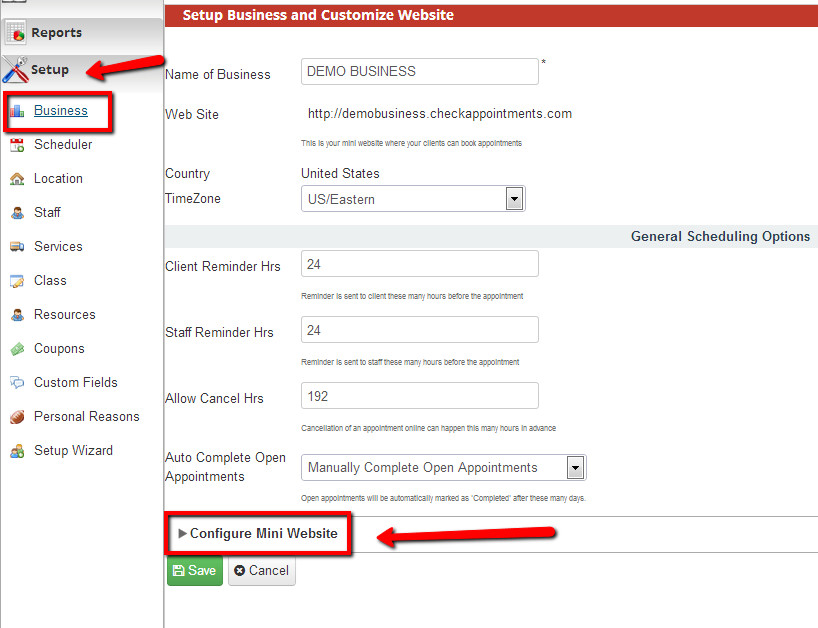
You can find the menu to customize the mini website under Setup->Business and expand the Configure Mini Website panel at the bottom of the screen.
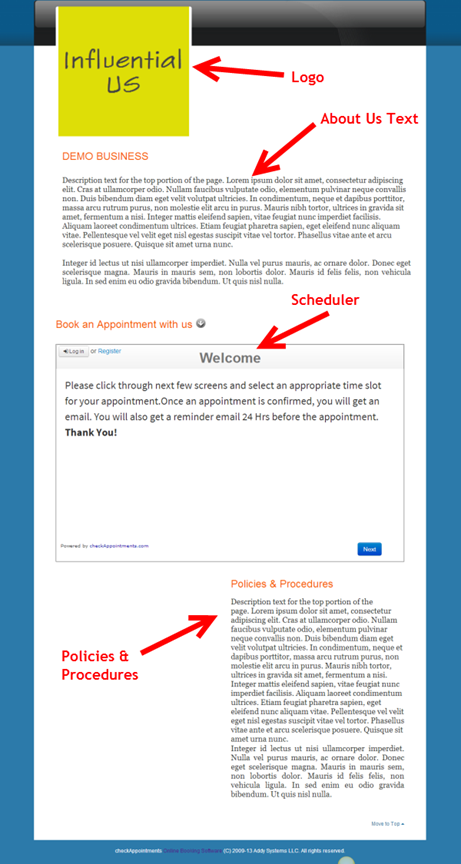
Elements
Logo: Accepted filed types are jpg and png
About Us: Can apply text, basic text formatting, links, and images
Scheduler: 7 panels that are customized through the login that client goes through to book an appointment. See the Customizing your Scheduler section for more information
Policies & Procedures: Same formatting applies as with the About Us space
Page View
Below is a screenshot with the elements of the mini website pointed out in red
Private URLs for Staff, Location, Services, Personal Reasons, and Classes
If you go to the menus for Staff, Location, or Service in the Setup panel and click into any of the detail views, you’ll notice that each comes with its own private url. It’s important to note that these private URLs do not come with the mini website but is rather just the scheduler at max width on the page.
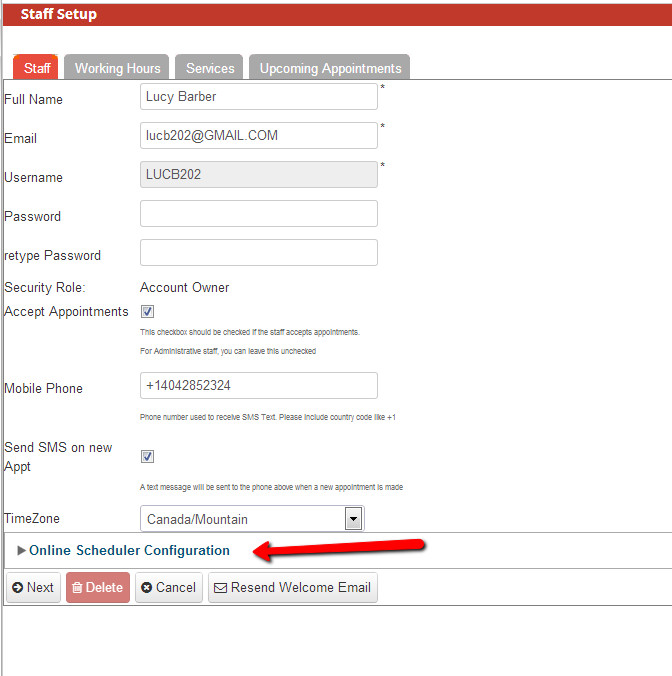
Staff private URL
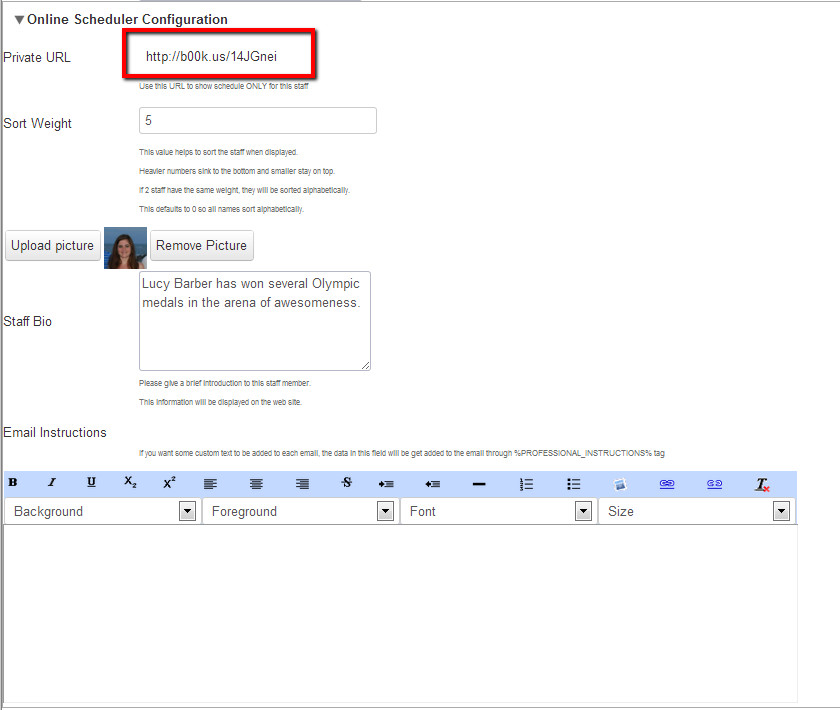
If you go to Setup->Staff and click on a staff member, you’ll notice at the bottom a collapse panel for Online Scheduler Configuration. If you click the caret symbol to expand this panel, you’ll see the options to grab the Private URL, add a headshot or photo, apply a sort weight, insert a bio, and include specific email instructions for that staff (this is all explained in greater detail here). Customizing the scheduler for each staff member will be reflected on both the main scheduler and the scheduler at the Staff’s private URL
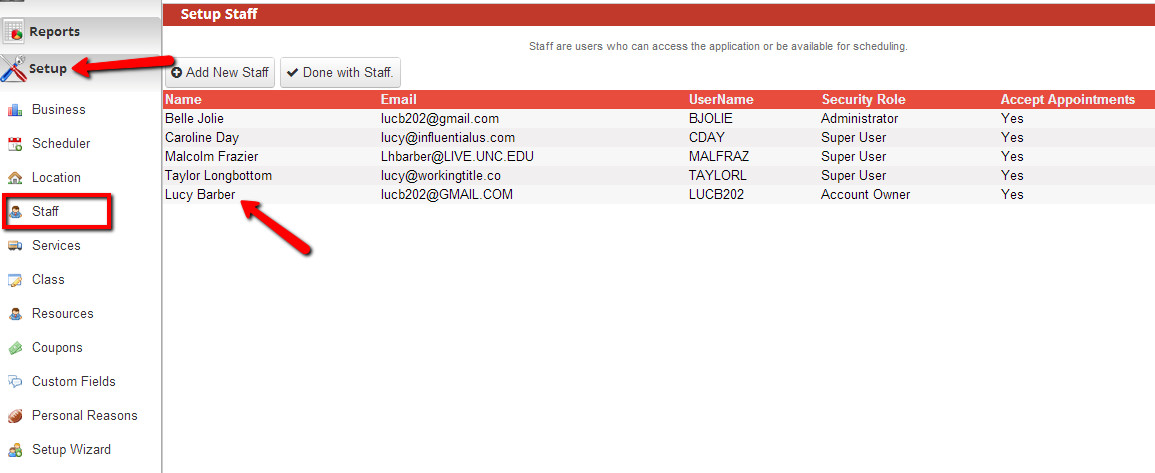
To find the private url for Staff, go to Setup->Staff and click on the staff member you're interested in:
Expand the Online Scheduler Configuration panel at the bottom of the screen:
You'll find the private URL along with room for a picture and staff bio. Once you make any changes here, make sure to click "Next" at the bottom until you get to the screen with the Save button available.