• View Page
    • Export to Word
    • Export to PDF
    • Archive
    • Version history
    • View ownership
    • Attachments (10)
    • Content Information
    • View Source
    • Convert Gliffy Diagrams
  1. Content
  2. checkAppointments Home
  3. How to Guides
  4. Customizing Emails

Content Comparison

Versions Compared

Version Old Version 3 New Version Current
Changes made by

Lucy Barber

ShawnK

Saved on

May 06, 2013

Jan 11, 2016

  • Previous Change: Difference between versions 2 and 3
  • View Version History

Key

  • This line was added.
  • This line was removed.
  • Formatting was changed.

In this section I will show you how you can customize the emails that are sent out.
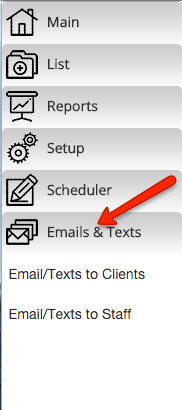
1. Select

...

Emails/Texts to Clients from Emails and Texts->Email/Texts to Client


 Image Added

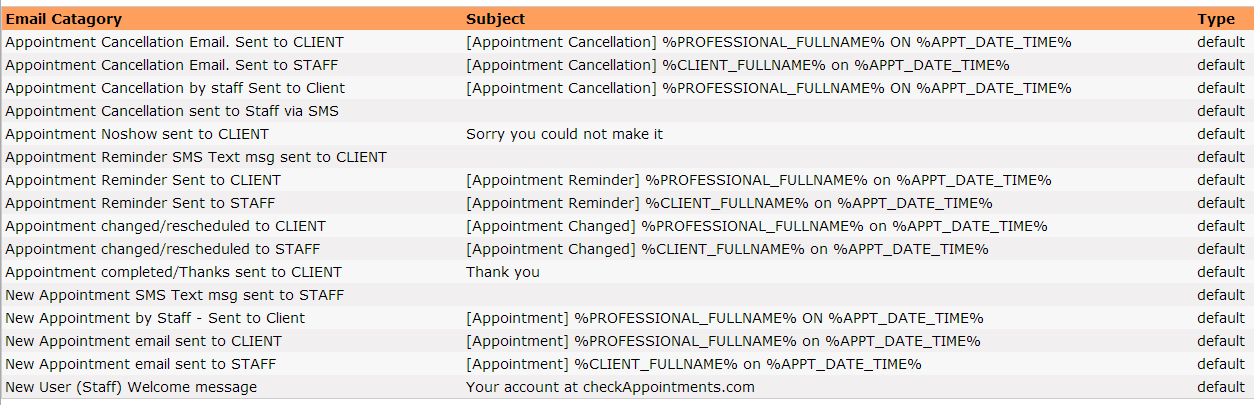
2. Then select the email you would like to Edit.

Image RemovedImage Added

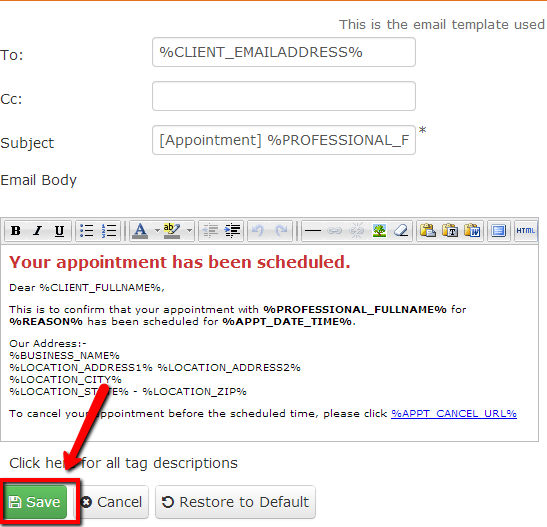
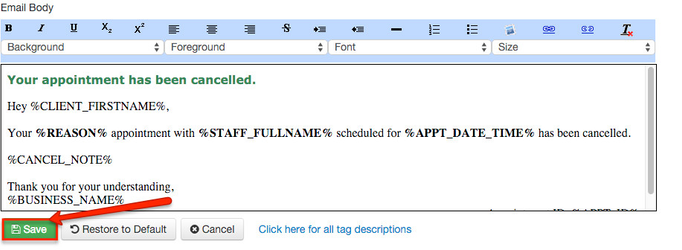
3. The Email will then open up. Click on the "Customize This email" button.

Image RemovedImage Added

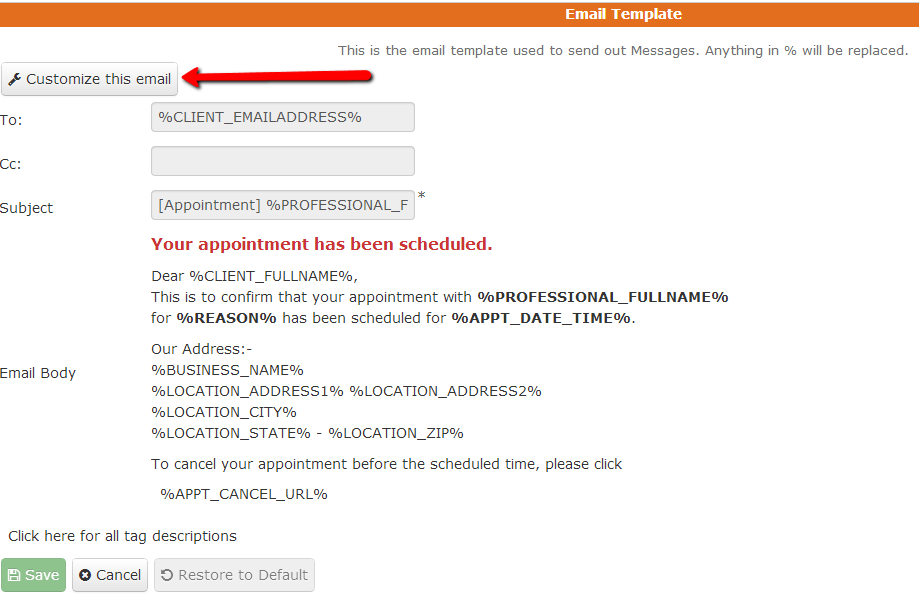
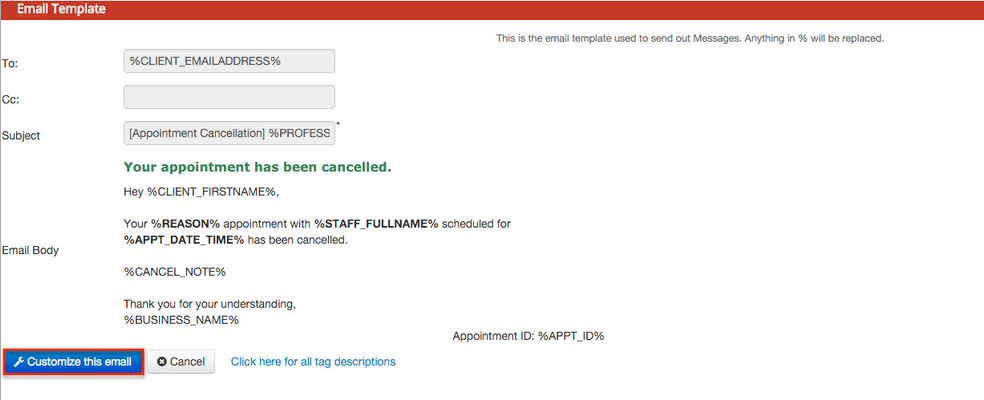
4. You can then customize the text and save the email template.

...

These are special tags. When the email is actually sent, we will merge real data with these fields to compose the actual email (essentially it will fill with the clients listed name in your client list or the listed location of the appointment, etc...). To get a full list click here.

5. Hit the Save Button when you are done.

Image RemovedImage Added

General
Content
Integrations
{"serverDuration": 330, "requestCorrelationId": "0b33fdab00eb431da0a7879b72711a03"}