If you are booking an appointment for a client through your backend systemthe checkAppointments Back Office, you can do this by going to Main->Setup One Time Appointmentthe "Main" tab → and clicking on "Book one time appointment". Make sure that your client is in your system before setting up the appointment for him/her (see documentation for that here). Once in this view, use the drop down menus to select the Location, Staff, and Service that you are booking the client for.
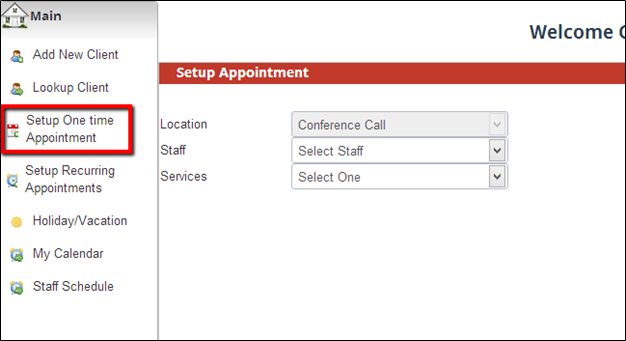
Once you’ve selected the

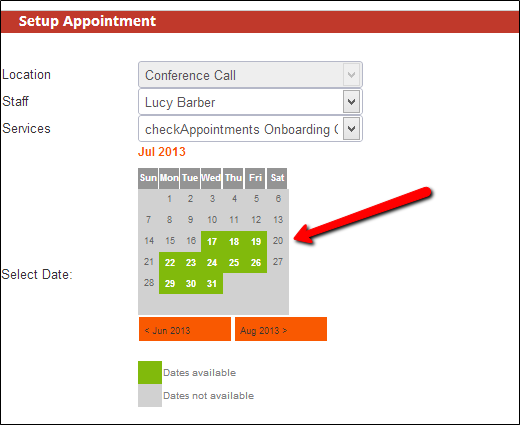
After you chosen a Location, Staff member, and your Service, a calendar with available dates will display beneath the dropdowns:
Select a date from the calendar and you’ll see a list of times populate on the right hand side of the screen and a list of what appointments you already have that day you'll then be asked to choose a date and time for your appointment:
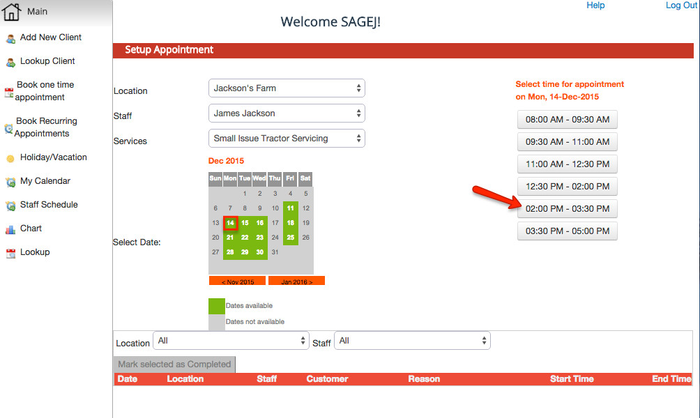
You'll then be prompted to do the following:
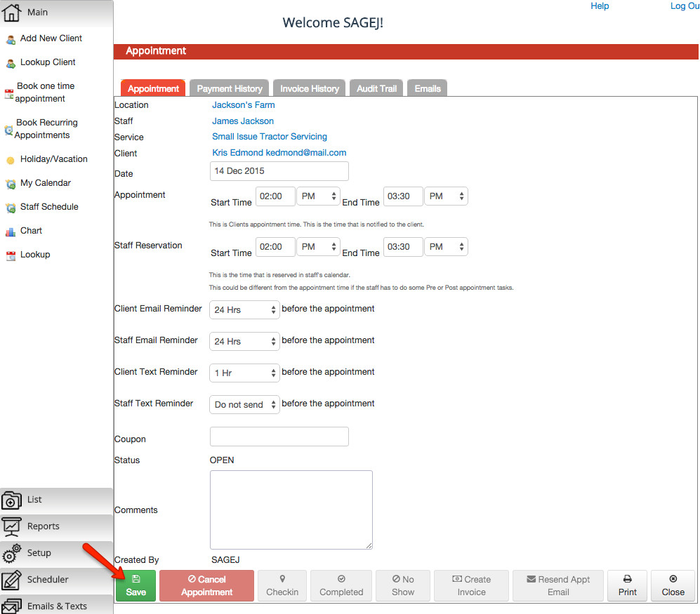
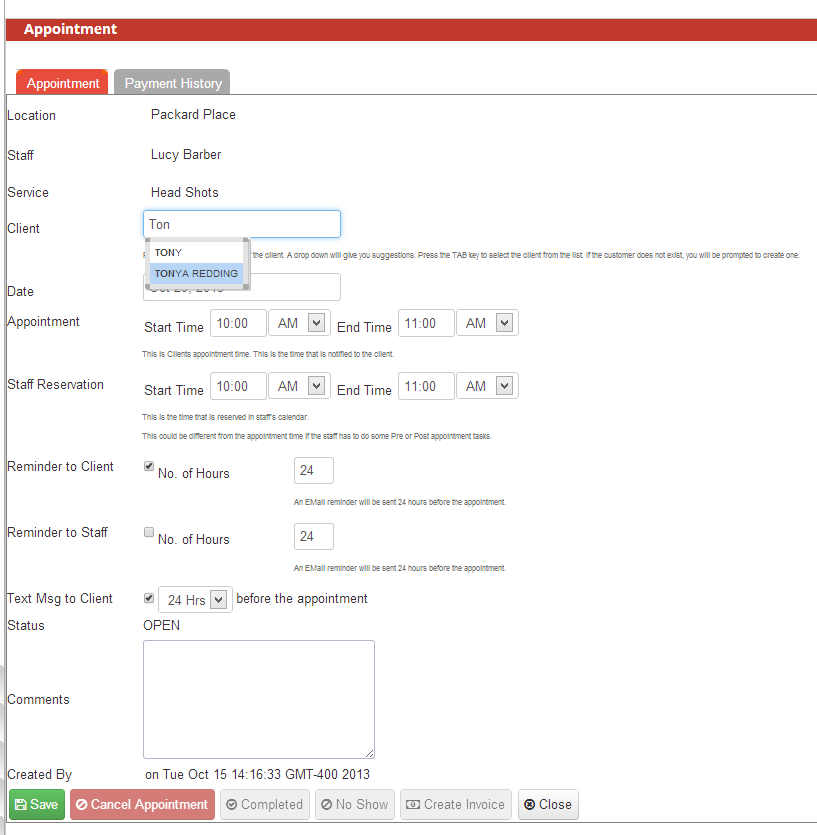
- Fill in the Client's name (if the Client is new and does not have a record with you, you'll be prompted to add his/her name and additional information that is optional to complete their Client Record)
- Edit the number of hours before the appointment that you'd like to send a Client Email Reminder, Staff Email Reminder, Client Text Reminder, & Staff Text Reminder. You can also choose not to send Reminder Emails or Text Messages from the drop-downs.
- Add a Coupon code if you are running a special offer for your Service. To learn more about this feature, check out our documentation on Coupons.
- Add Comments regarding the appointment
After the appointment information is set, you can then click the "Save" button at the bottom of the screen:.

Select the time that you want to book the appointment from the list on the right and you’ll go into the appointment screen. Here you can define which client the appointment is with and enter in further details around reminder times, comments, etc.
Once you’re done adding the appointment details, you can press “Save” and commit the appointment to that staff person’s calendar.You'll then be asked if you would like to send an email to the Client and also send one to yourself regarding the new appointment. To do either, you can add a check to of the checkboxes. You can also add a note regarding the appointment here. Once you're all set, click the "Confirm" button.
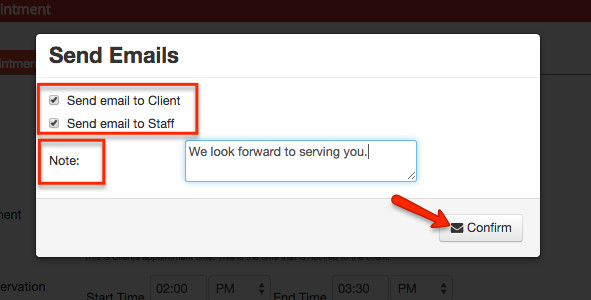
After clicking "Confirm", you'll then be able to edit the New Appointment Email before sending to the client. Once everything's all set, click the "Send Email" button. And you'll have set up a new appointment for the Client.
