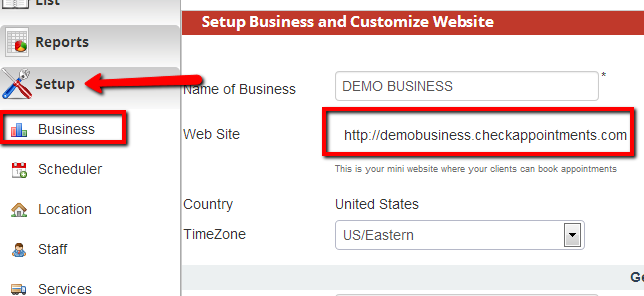
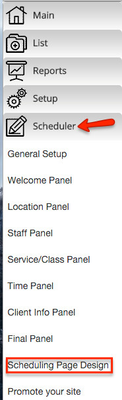
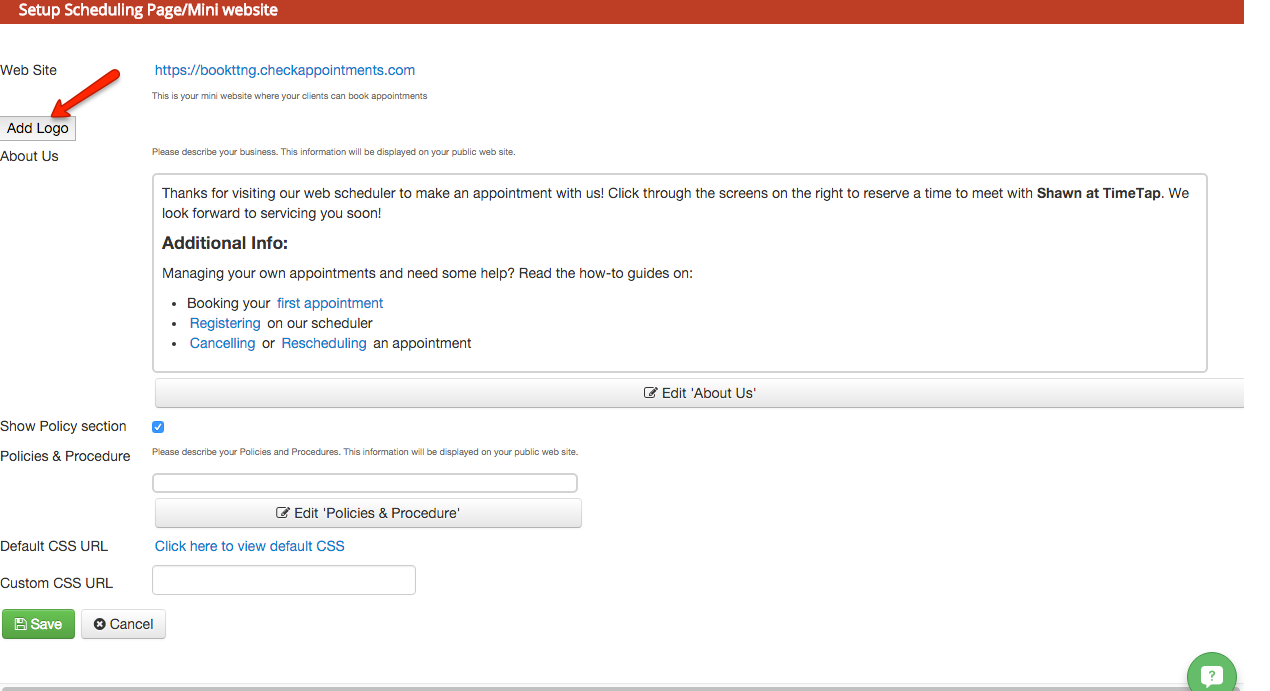
Your miniwebsite is whatever Web Handle you entered at sign up plus .checkAppointments.com (so http://webhandle.checkappointments.com) and can be found by going to SetupScheduler->Business >Scheduling Page Design and clicking on the link next to "Web Site":
It can be customized with a logo, some About text, and a Policies & Procedures section. You can also customize the scheduler that appears on the mini website but we do not cover that in this tutorial. For a tutorial on customizing your scheduler, please see the documentation available here.
To Add a Logo to Your Mini-Website
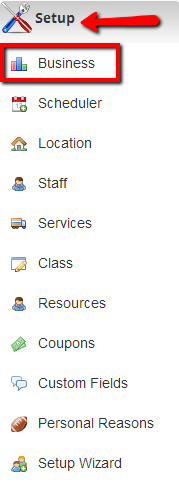
Go to SetupScheduler ->Business>Scheduling Page Design:
Beneath the "General Scheduling Options" is the collapsed "Configure Mini Website" panel. Click the expand it:
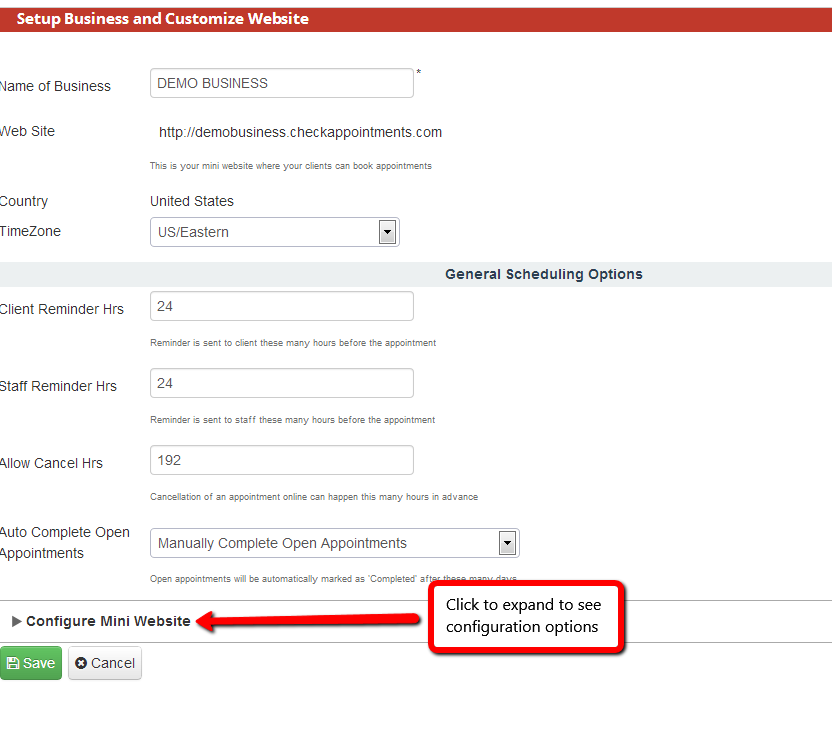
The first item beneath the expanded panel is website URL you will see an "Add Logo" button:
Once the "Add Logo" button is clicked - click to browser for files and press upload. Please note: your image will resize to be 300px wide. I'd recommend optimizing it for that width before uploading.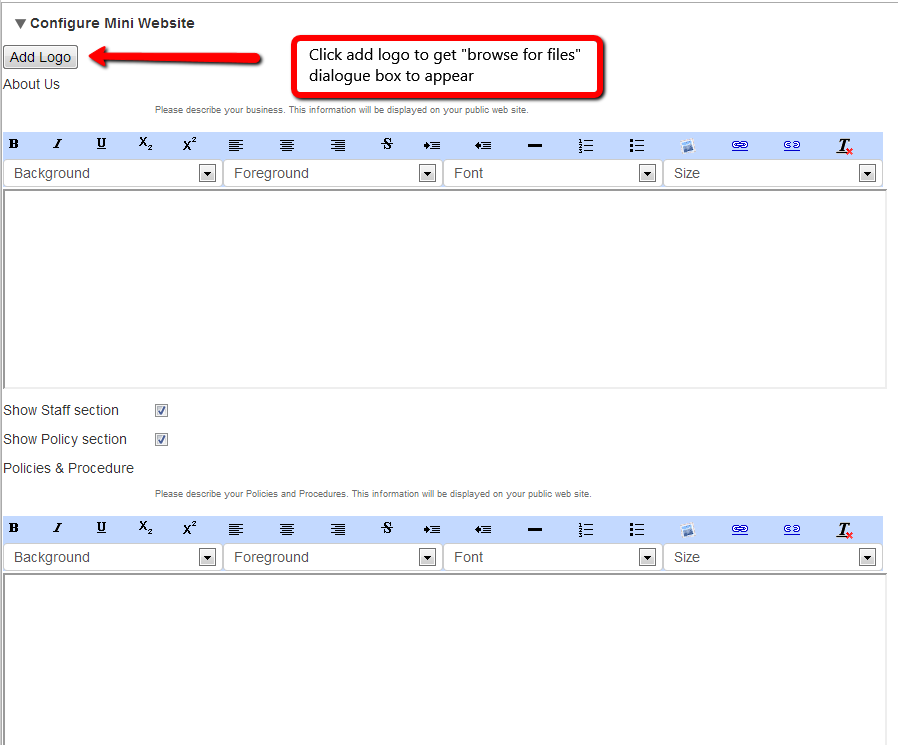
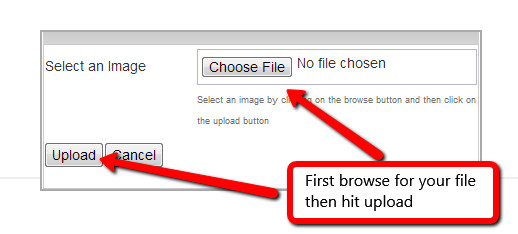
You'll need to hit "Save" at the bottom of the page for a link of your logo .png or .jpeg file to appear:
...