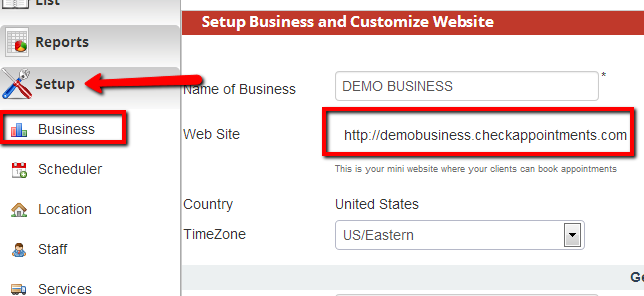
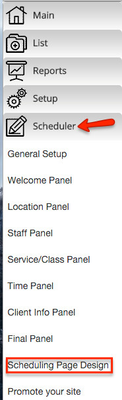
Your miniwebsite is whatever Web Handle you entered at sign up plus .checkAppointments.com (so http://webhandle.checkappointments.com) and can be found by going to SetupScheduler->Business >Scheduling Page Design and clicking on the link next to "Web Site":
It can be customized with a logo, some About text, and a Policies & Procedures section. You can also customize the scheduler that appears on the mini website but we do not cover that in this tutorial. For a tutorial on customizing your scheduler, please see the documentation available here.
To Add a Logo to Your Mini-Website
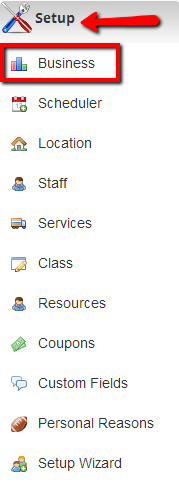
Go to SetupScheduler ->Business>Scheduling Page Design:
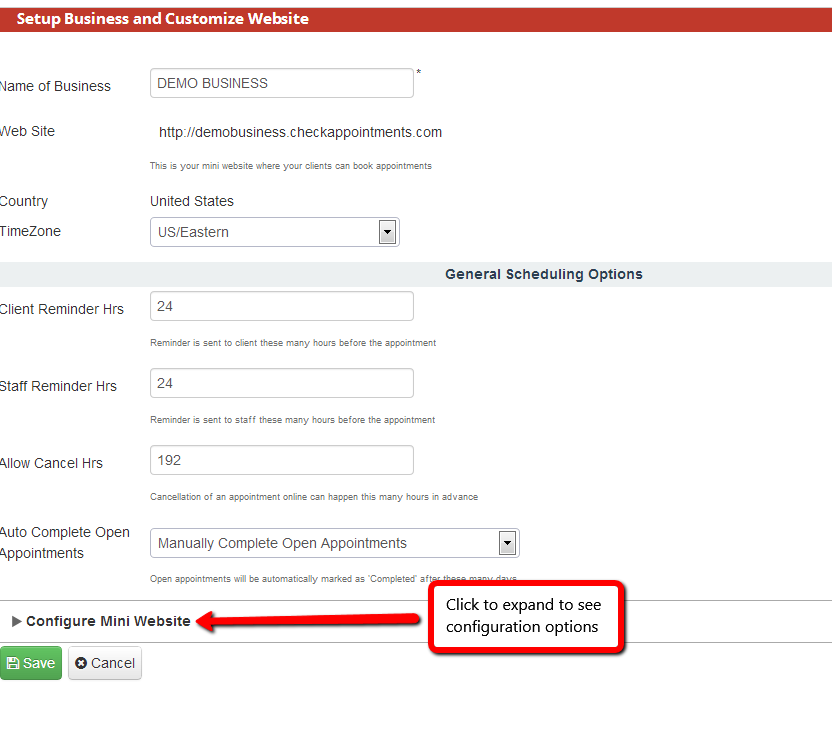
Beneath the "General Scheduling Options" is the collapsed "Configure Mini Website" panel. Click the expand it:
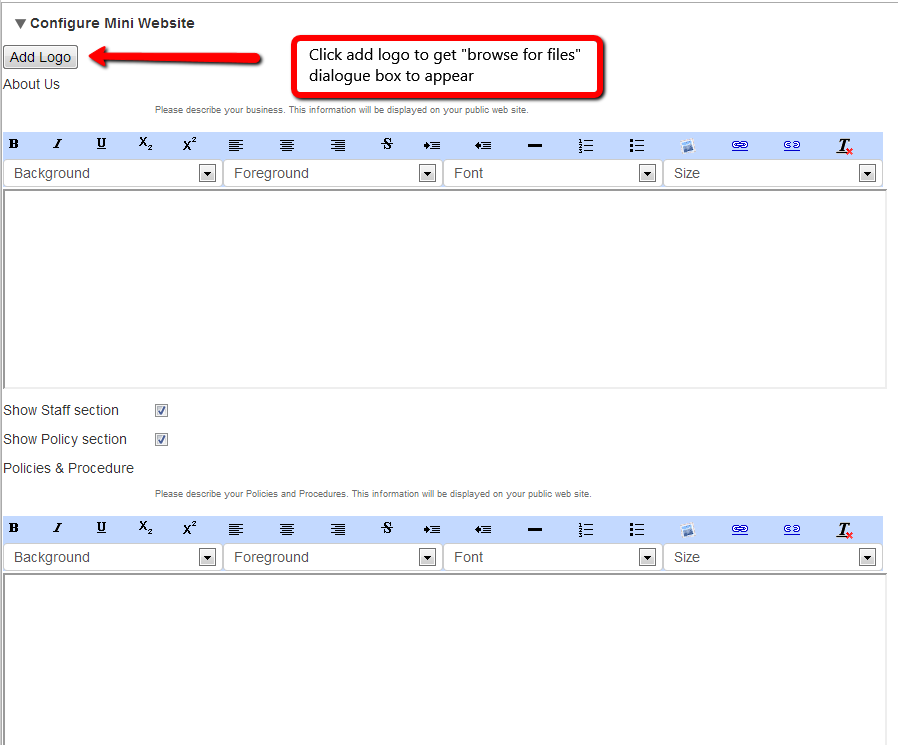
The first item beneath the expanded panel is website URL you will see an "Add Logo" button:
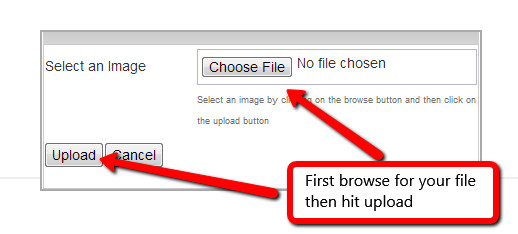
Once the "Add Logo" button is clicked - click to browser for files and press upload. Please note: your image will resize to be 300px wide. I'd recommend optimizing it for that width before uploading.
You'll need to hit "Save" at the bottom of the page for a link of your logo .png or .jpeg file to appear:
...
About Us and Policies & Procedures sections
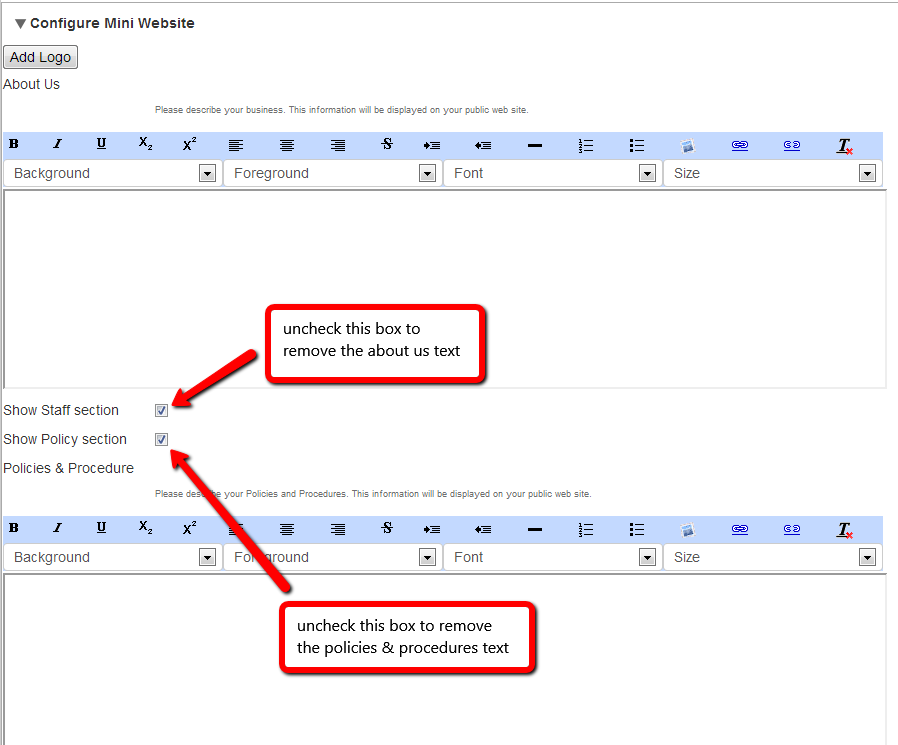
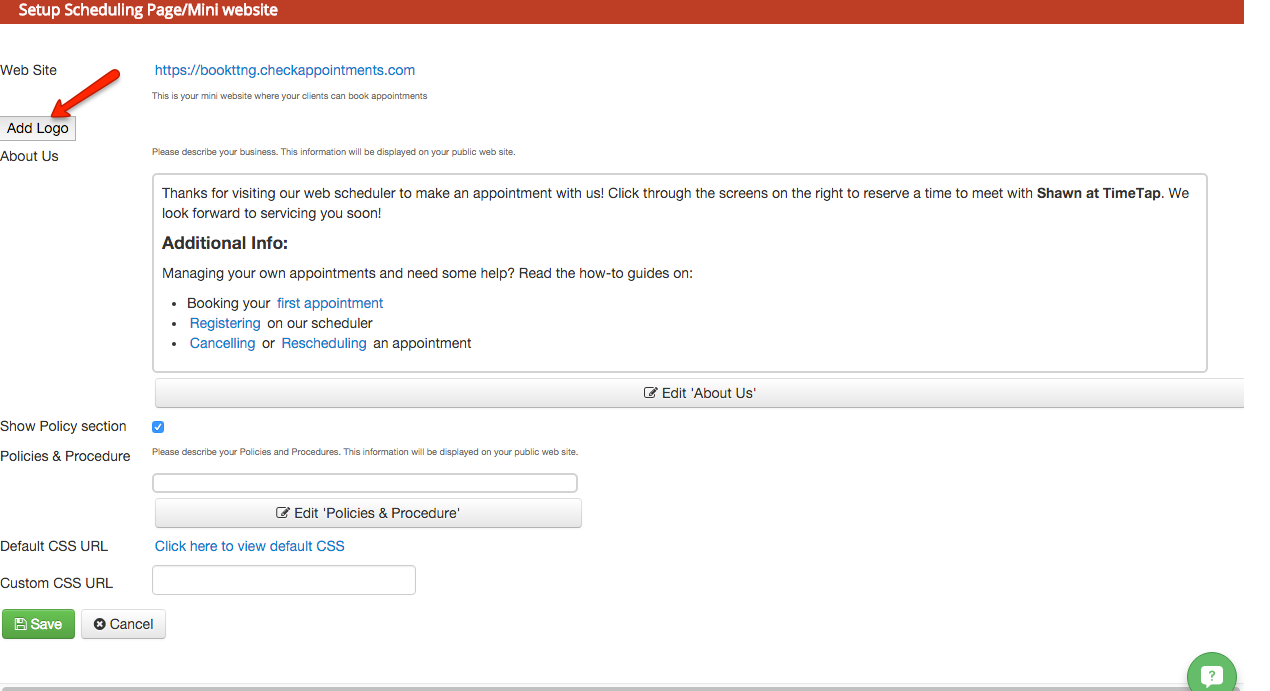
Beneath the logo option discussed above are two text boxes for you to add some custom text to your page. See the text in the red boxes below:
...
You can use the formatting options at the top of those text boxes to make the text display as you'd like to, add hyperlinks, or images. Once you've added text, hit "Save" at the bottom of the screen to commit it and go check out what it looks like on your mini website.
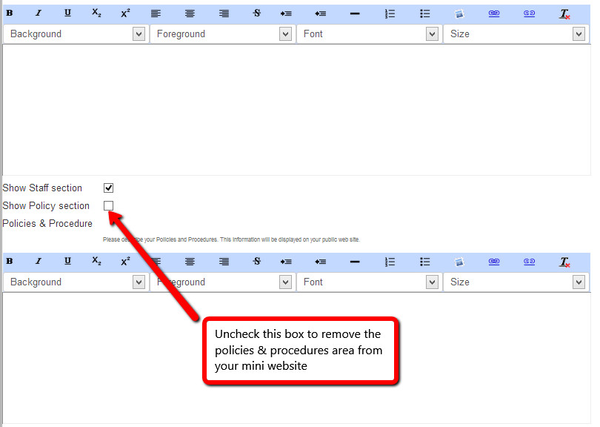
If you do not want this the Policies & Procedures text to display, uncheck the boxes box in the middle of the page: