...
3. Click on "Add Static HTML to a Page" button

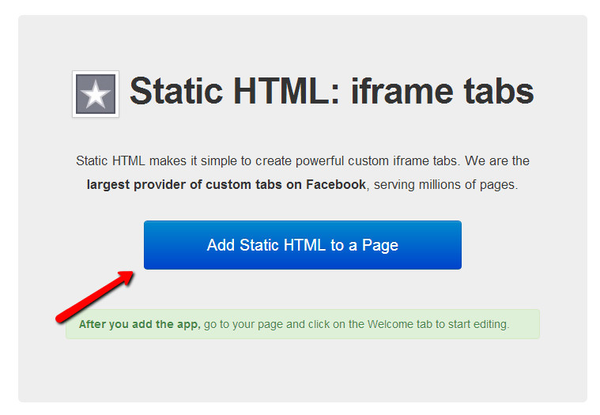
4. Facebook will ask you to confirm that you will like to add this page. If you have more than one page, you will have to select the page from the drop down otherwise click on the "Add Static HTML:iframe tabs.
...
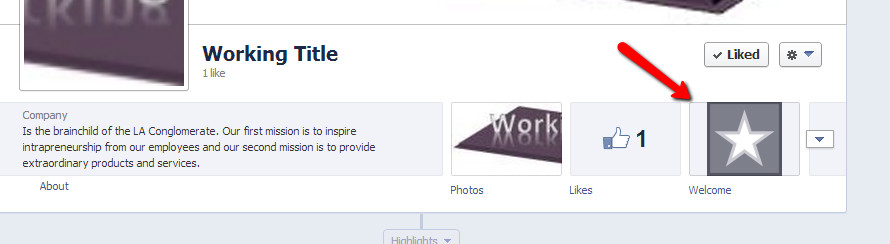
7. Lets go back into Facebook and configure our tab. Click Go to your page and click on the welcome tab "Welcome" option:
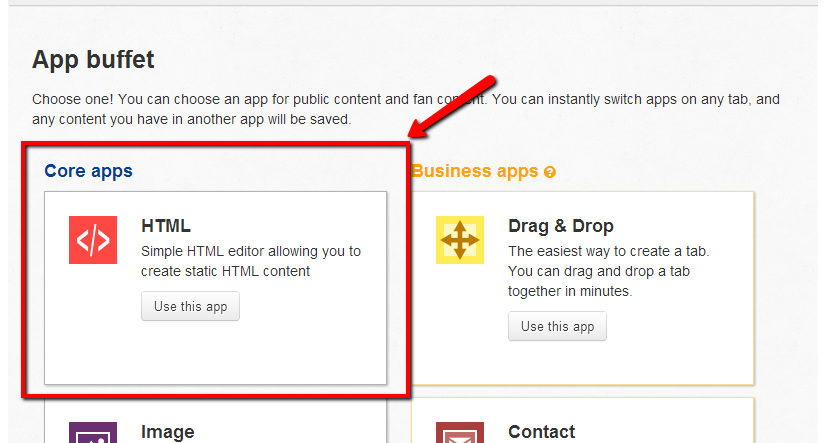
8. Select the "Core app" HTML:
9. Paste the code you had copied from checkAppointments  and hit the blue "Save & Publish" button
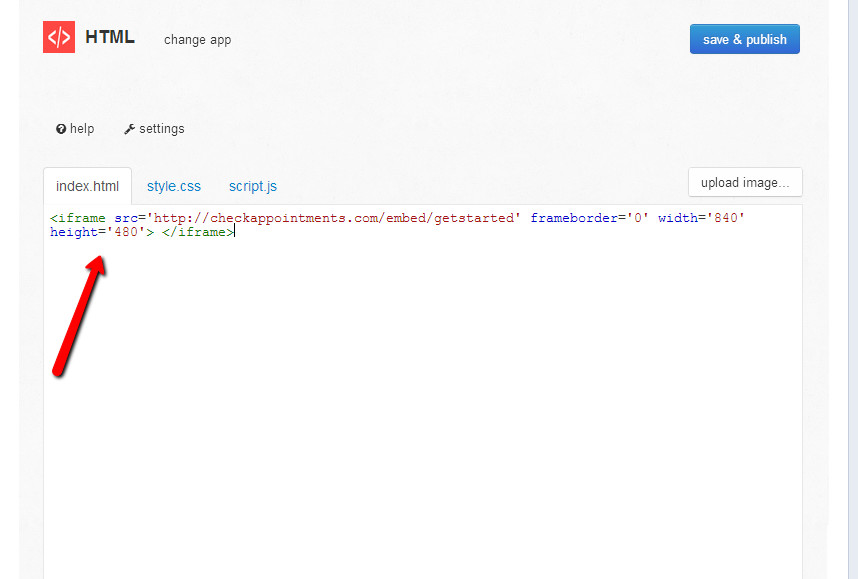
9. TaDa!!  Now when visitors go to your Facebook page they can use the "Welcome" option on the About bar next to your logo to book an appointment with you
Want to rename the facebook tab? Click here to learn how.